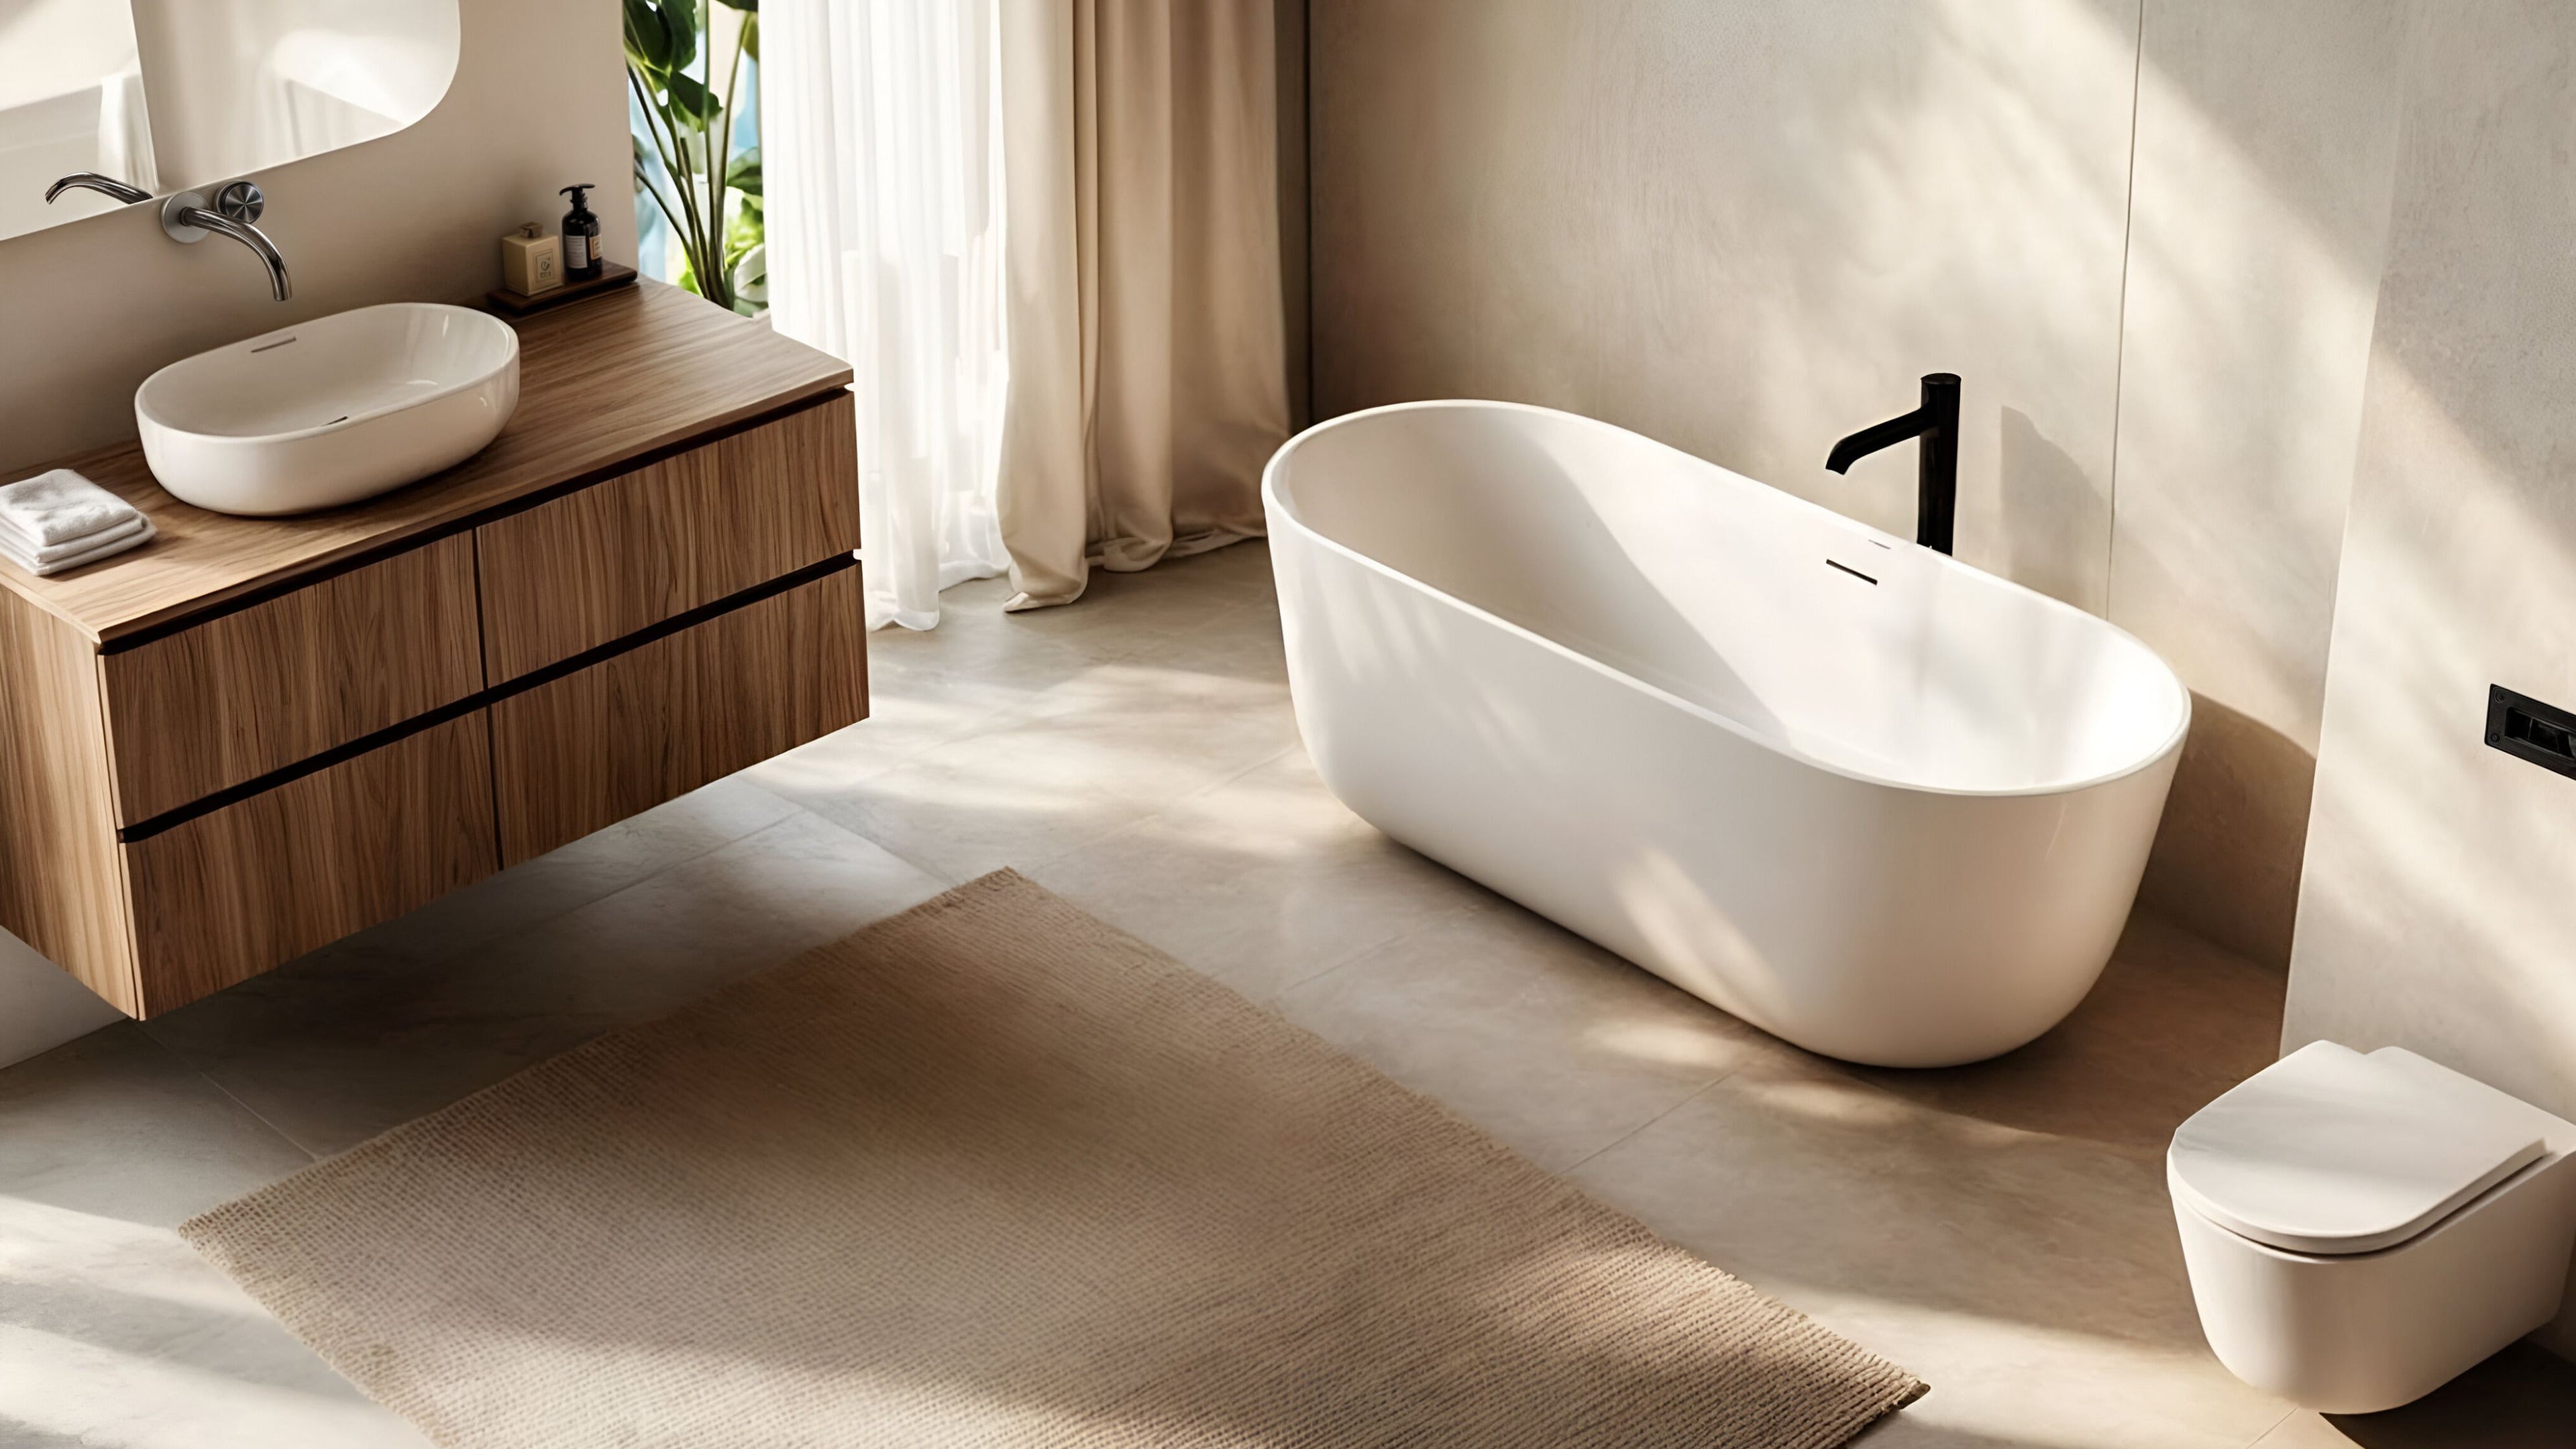
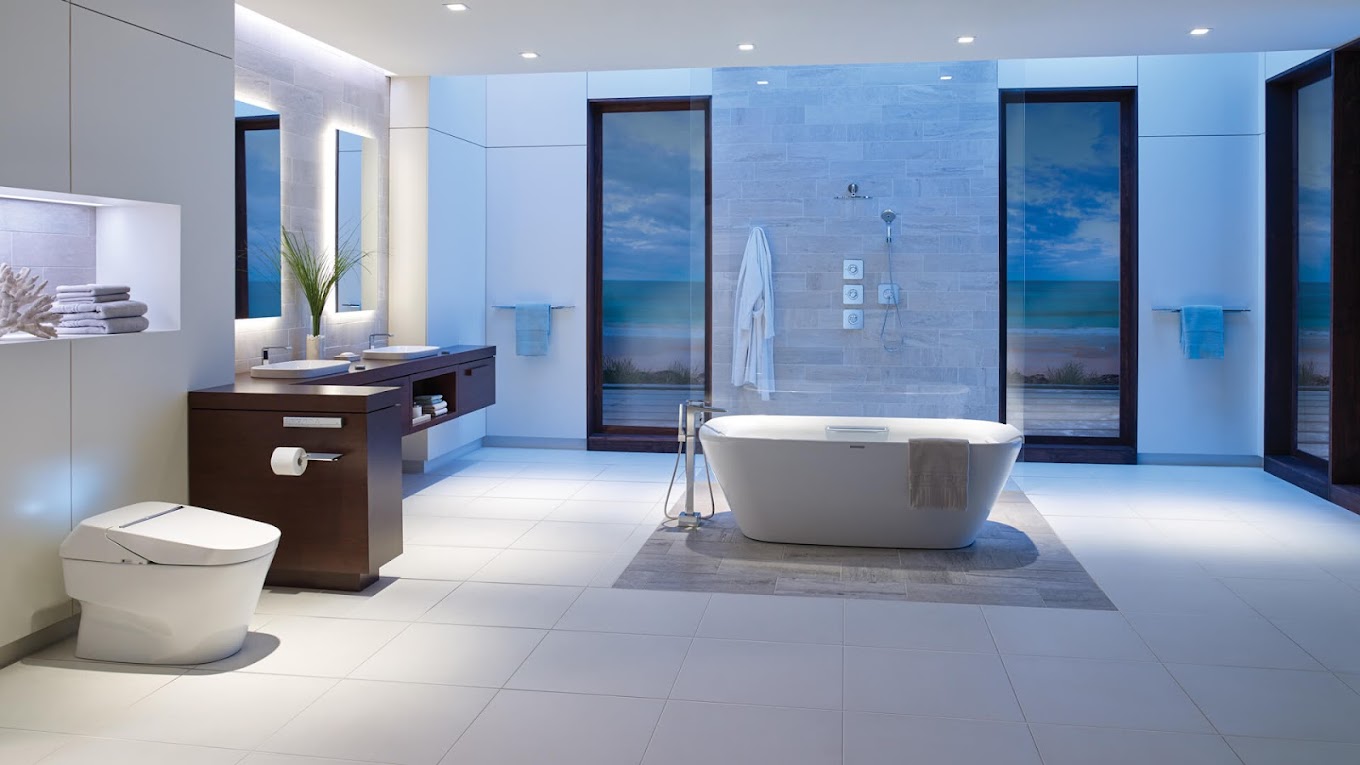
A freestanding bathtub is a beautiful addition to any bathroom, and installing one means you have enough space to accommodate this statement piece. Many homeowners choose a bathtub not just for practical use but also to create a more relaxing and luxurious space. It brings a sense of comfort and makes daily routines feel a little more indulgent.
Whether you’re installing it yourself, working with a builder, or simply wanting to understand the process, knowing the basics can make everything easier. This guide will walk you through the steps of installing a freestanding bathtub, so you know what to expect and can ensure everything is done correctly.
Step 1: Check the Space and Floor Level
Before installing a freestanding bathtub, the first thing to check is whether the space is ready. Make sure the area where the bathtub will sit is large enough and that there is enough room to move around it comfortably.
Next, check if the floor is level. A bathtub needs a stable and even surface to sit on, especially if it’s a heavy material like stone or cast iron. If the floor is uneven, the tub may wobble or not drain properly. Use a spirit level to check, and if needed, adjust the floor or use adjustable feet on the tub (if it has them).
Once the space and floor are ready, you can move on to positioning the bathtub.
Step 2: Position the Bathtub
Once the space is ready and the floor is level, it’s time to place the bathtub in position. Carefully move the tub into the desired spot, making sure it aligns properly with the drain location. This step is called dry fitting, meaning you place the tub without connecting anything yet.
Check that the bathtub is centred and straight, especially if it’s near a wall. There should be enough space around it for easy cleaning and access. If your bathtub has adjustable feet, now is the time to adjust them to make sure the tub sits evenly on the floor.
Before moving to the next step, mark the position of the bathtub on the floor with masking tape or a pencil. This helps ensure it stays in the right place when making plumbing connections.
Step 3: Connect the Drain
With the bathtub in position, the next step is to connect the drain pipe. Before doing this, check that the existing plumbing lines up with the bathtub’s drain. If it doesn’t, you may need a plumber to adjust the pipes.
Start by attaching the waste and overflow pipe to the bathtub’s drain. If your tub has a pop-up drain, follow the manufacturer’s instructions for installation. Apply plumber’s putty or silicone around the drain fitting to create a watertight seal and prevent leaks.
Once everything is connected, do a leak test before securing the tub. Pour a small amount of water into the bathtub and check underneath for any signs of leakage. If there are leaks, tighten the connections or apply more sealant as needed.
After confirming there are no leaks, you’re ready for the next step.
Step 4: Secure the Bathtub in Place
Once the drain is connected and tested for leaks, it’s time to secure the bathtub in its final position. Carefully move it back to the markings you made earlier. If your bathtub has adjustable feet, make final adjustments to ensure it sits level and stable.
Some freestanding bathtubs simply rest on the floor, while others may need to be anchored with floor brackets (check the manufacturer’s instructions). If needed, use a small bead of silicone sealant around the base to prevent movement and keep water from getting underneath.
Before moving on, give the tub a gentle push to check for stability. If it wobbles, adjust the feet or check if the floor is uneven. A properly secured bathtub should feel solid and not shift when in use. Now, you’re ready to connect the water supply.
Step 5: Connect the Water Supply
With the bathtub secured in place, the next step is to connect the tapware. If your bathtub has a floor-mounted tap, ensure it is installed correctly and aligned with the tub. For wall-mounted taps, check that the plumbing is properly positioned before securing the fittings.
Attach the hot and cold water lines to the taps, ensuring all connections are tight. If using flexible hoses, make sure they are not twisted or kinked. Once connected, slowly turn on the water and check for leaks around the fittings.
Let the water run for a few minutes to check both the pressure and temperature. If there are any leaks, tighten the connections or apply plumber’s tape to the fittings. If everything is working as expected, the installation is nearly complete!
The final step is a full inspection and cleanup before using your new freestanding bathtub.
Final Step: Final Inspection and Cleanup
Before using the bathtub, do a final check to ensure everything is secure and working properly. Fill the bathtub with water and let it drain completely to confirm there are no leaks around the drain or plumbing connections. If you notice any water pooling under the tub, tighten the fittings or reapply sealant as needed.
Check that the bathtub sits level and stable, with no wobbling or movement. If necessary, make small adjustments to the feet or reapply silicone around the base for extra stability.
Once everything is in place, clean the bathtub with a soft cloth to remove dust, fingerprints, or any leftover sealant. Wipe down the surrounding area to ensure no debris is left behind.
Your freestanding bathtub is now ready to use! Whether you installed it yourself or worked with a professional, understanding the process ensures the job is done correctly. Now, all that’s left to do is enjoy a relaxing soak.
When choosing a freestanding bathtub, it’s important to buy from a reliable retailer that handles your order with care, ensuring there are no damages or hidden issues.
Look for retailers that offer warranties on their bathtubs, giving you peace of mind that your purchase is protected. Premium freestanding bathtubs are an investment, so it’s worth choosing a seller that provides quality products and excellent customer support.
Ready to Find the Perfect Freestanding Bathtub?
Explore our premium collection and shop with confidence, knowing you’re getting quality, warranty-backed products from a trusted retailer.


