



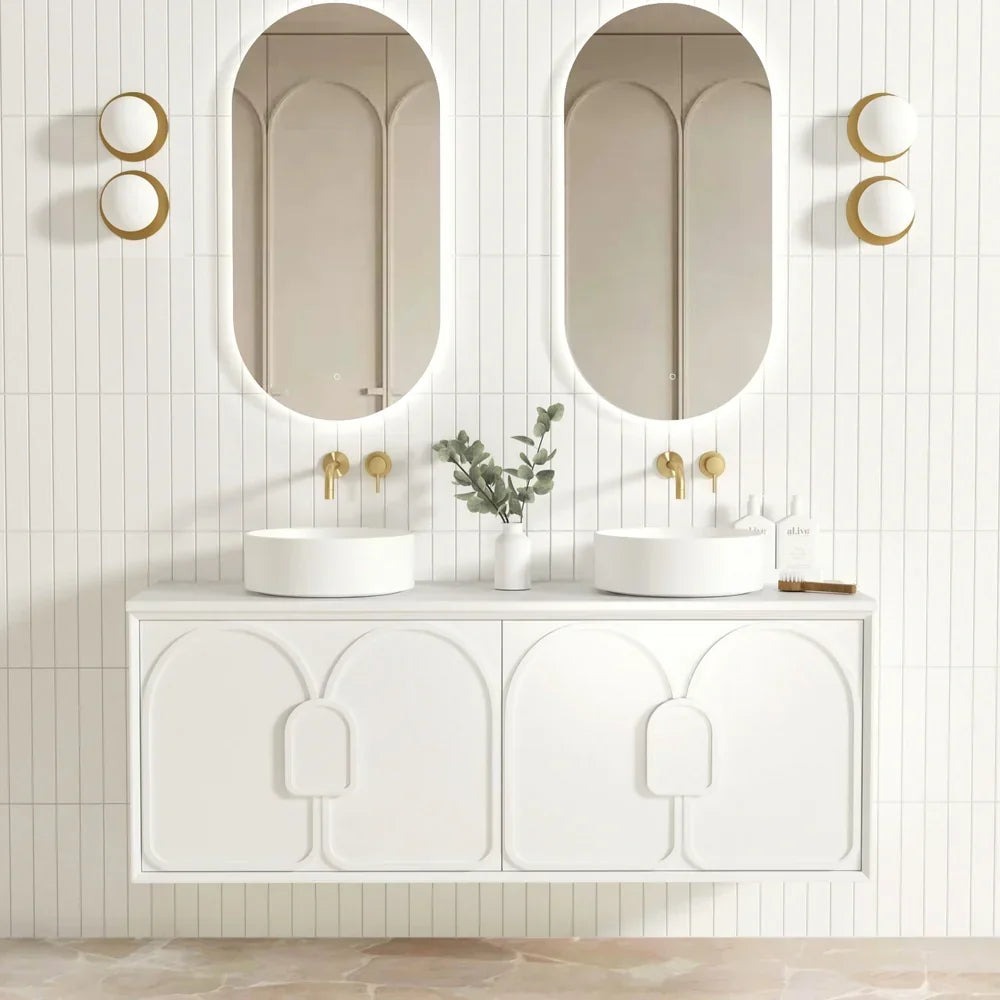
Your vanity stays in good condition when you wipe standing water promptly, keep the bathroom well ventilated, and seal a natural stone top on the schedule its material needs. Bathrooms are humid, high-use spaces, so moisture is the main thing that wears a vanity over time, not everyday use itself. Vanity cabinets are built from moisture-resistant materials made for wet areas, so protecting one is mostly about a few habits and knowing what each surface needs. Here is what you need, how to protect the cabinet and top step by step, the signs to watch for, and how often to do each task.
What you'll need
| A few soft microfibre cloths |
| A pH neutral cleaner |
| A dry towel for wiping surfaces down |
| Good ventilation, such as an exhaust fan or an opening window |
| A penetrating stone sealer suited to bathroom surfaces, only if you have a natural stone top |
Why bathrooms are demanding on vanities
A bathroom combines humidity, steam, and frequent splashes in a small, often poorly ventilated space, which makes it a harder environment than any other room in the house. Moisture in the air settles on surfaces, water pools around the basin and along the base, and steam from the shower lingers.
Vanity cabinets are made from moisture-resistant board, plywood, or PVC with sealed finishes precisely because of this, so they are built to cope. Wear tends to come not from the material failing but from water being left to sit, or from ventilation being poor enough that the room never fully dries between uses. Protecting a vanity is about managing that moisture so the material's built-in resistance is never overwhelmed.
Everyday habits that protect your vanity

The most effective thing you can do is wipe up water as it appears and let the room dry out after use.
-
Wipe splashes and pooled water off the top and around the basin after each use with a soft, dry cloth.
-
Dry the area behind the tap, where water tends to sit unnoticed.
-
Run the exhaust fan, or open a window, during and after a shower until the room clears of steam.
-
Keep cabinet doors and drawers closed while the room is steamy so moisture does not settle inside.
-
Hang towels and bath mats to dry rather than leaving them draped against the cabinet.
None of this takes more than a few seconds at a time, and it does more to protect a vanity than any product.
Preventing water damage at the base
Water damage most often starts low, where the cabinet meets the floor or the wall, so the base deserves attention whatever the mount type.
For a floor standing or freestanding vanity:

-
Wipe up water that pools on the floor around the base, since a cabinet sitting on the floor is in direct contact with it.
-
Take care when mopping not to push water under or against the kickboard.
-
Check the seal where the vanity meets the wall and floor, and reseal with neutral cure silicone if it has lifted.
For a wall hung vanity:

-
Wipe the floor beneath and the underside of the cabinet as part of your floor routine, since splashes still reach it.
-
Check the wall seal behind the cabinet is intact.
Catching water at the base early is what prevents the slow, hidden damage that builds up over months.
Caring for your cabinet finish
Clean the cabinet with a soft, damp cloth and a pH neutral cleaner, and do not oil, wax, or seal a laminated, melamine, PVC, or painted finish.
-
Wipe the doors, drawer fronts, and handles with a soft cloth dampened with a pH neutral cleaner.
-
Follow with a dry cloth so no moisture sits on the finish or in the joins.
-
For marks or product residue, dampen the spot and wipe gently, avoiding abrasive pads that can dull or scratch the surface.
-
Wipe the cabinet interior occasionally, and let it air before closing if it has picked up moisture.
These finishes are sealed at the factory and are made to be wiped clean, so they need no oil, wax, or polish. Products meant for raw timber can leave a residue or damage a laminate or PVC surface, so keep to a damp cloth and a neutral cleaner. A woodgrain laminate or veneer is cared for the same way, since the woodgrain is a finish over a moisture-resistant board, not raw timber.
Sealing and caring for a stone or solid surface top

Seal a natural stone top on installation and reseal it when a water test shows it is due, usually every 6 to 12 months. Engineered stone and solid surface tops do not need sealing.
To check whether a natural stone top needs resealing:
-
Drop a small amount of water on the surface and wait a few minutes.
-
If the water beads on top, the seal is still working.
-
If the water soaks in and darkens the stone, it is time to reseal.
To reseal a natural stone top:
-
Clean the top with a pH neutral cleaner and let it dry fully.
-
Apply a penetrating stone sealer suited to bathroom surfaces, following the product's directions.
-
Wipe off the excess before it dries, and leave the top to cure as directed before use.
For daily care of any stone or solid surface top, wipe spills promptly, especially anything acidic such as toothpaste, perfume, or cleaning products, since these can mark natural stone. Use a pH neutral cleaner and keep acidic or abrasive products away from the surface. Engineered stone and solid surface tops are non-porous, so they stay low maintenance and need only wiping.
Signs of moisture to watch for
Catching moisture early keeps a small issue from becoming a lasting one. Keep an eye out for:
-
Swelling or a soft spot along the base, the kickboard, or a drawer edge
-
Discolouration or dark marks, especially near the basin or tap
-
A finish that is lifting or bubbling at an edge or join
-
A musty smell, or visible mould inside the cabinet or underneath it
-
Condensation that lingers on the cabinet after the room should have dried
If you notice any of these, dry the area, improve the ventilation, and deal with the source of the moisture.
What to avoid
-
Oiling, waxing, or sealing a laminated, melamine, PVC, or painted cabinet finish, which these surfaces do not need and can be harmed by
-
Abrasive pads, scouring powders, or acidic cleaners on the cabinet or a stone top
-
Leaving standing water on the top, around the basin, or along the base
-
Closing damp cabinet doors and drawers on trapped steam
-
Skipping ventilation, which leaves the whole room damp between uses
How often to do each task
Build these into your existing routine so none of it becomes a separate job.
-
After each use: wipe the top, the basin surround, and behind the tap, and ventilate the room.
-
Weekly: wipe the cabinet fronts and handles, and dry the floor around or under the base.
-
Every few months: check the base and wall seals, and run the water test on a natural stone top.
-
As needed: reseal a natural stone top when the water test shows it is due, usually every 6 to 12 months.
Looking after moisture is what keeps a vanity looking new for years, and the moisture-resistant materials these cabinets are built from do most of the work when paired with a few habits. You can explore the full vanity range online to compare finishes, tops, and wall hung, floor standing, and freestanding styles.
Frequently Asked Questions
How do I protect my vanity from water damage?
-
Wipe standing water off the top, basin surround, and base promptly, ventilate the room after showers, and keep damp doors and drawers open to air. Seal a natural stone top when a water test shows it is due.
How often should I seal a stone vanity top?
-
Seal a natural stone top on installation, then reseal it when a water test shows the seal has worn, usually every 6 to 12 months. Engineered stone and solid surface tops do not need sealing.
Should I oil or wax my vanity cabinet?
-
No. Laminated, melamine, PVC, and painted finishes are sealed and made to be wiped clean, so they need no oil, wax, or polish, and products meant for raw timber can damage them. Use a soft damp cloth and a pH neutral cleaner.
How do I stop mould forming under my vanity?
-
Keep the area dry and well ventilated. Wipe up pooled water at the base, run the exhaust fan or open a window after showers, and check for lingering condensation inside the cabinet.
Why is my vanity discolouring around the basin?
-
Water sitting around the basin and tap is the usual cause. Wipe the area dry after use and check the seal around the basin and top, since water tracking into a joint can mark the surface over time.

